There’s something magical about the first crisp day of autumn that makes me want to create something special in the kitchen. Last October, when the leaves started turning those gorgeous shades of amber and gold, I found myself craving the nostalgic taste of Snickers bars—but with a homemade twist. That’s when I discovered this incredible recipe for Fall’s Favorite Snickers Cups, and let me tell you, my family hasn’t stopped requesting them since.
Why You’ll Love These Homemade Snickers Cups
These delightful treats capture everything we love about the classic candy bar but in an elevated, homemade form. The combination of rich chocolate, gooey caramel, and crunchy peanuts creates a symphony of flavors and textures that’s simply irresistible. Unlike store-bought versions, you control the quality of ingredients, and the satisfaction of making them yourself is unbeatable.
The beauty of this Snickers cup recipe lies in its simplicity. You don’t need any fancy equipment or professional candy-making skills. With just a few quality ingredients and a little patience, you’ll have a batch of these autumn-inspired treats ready to share—or keep all to yourself!
The Perfect Fall Candy Recipe
What makes these Snickers cups particularly special for fall is the way the flavors complement the season. The warmth of caramel, the richness of chocolate, and the satisfying crunch of peanuts feel like autumn in candy form. They’re perfect for Halloween parties, Thanksgiving gatherings, or simply as a special treat while watching the leaves fall outside your window.
Ingredients You’ll Need for Snickers Cups
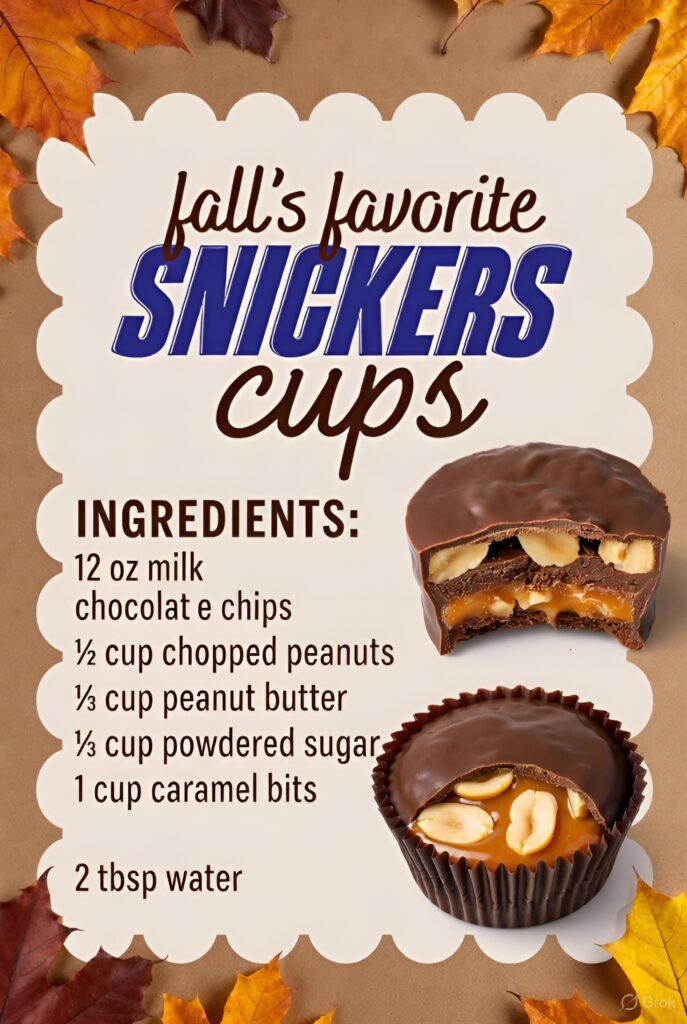
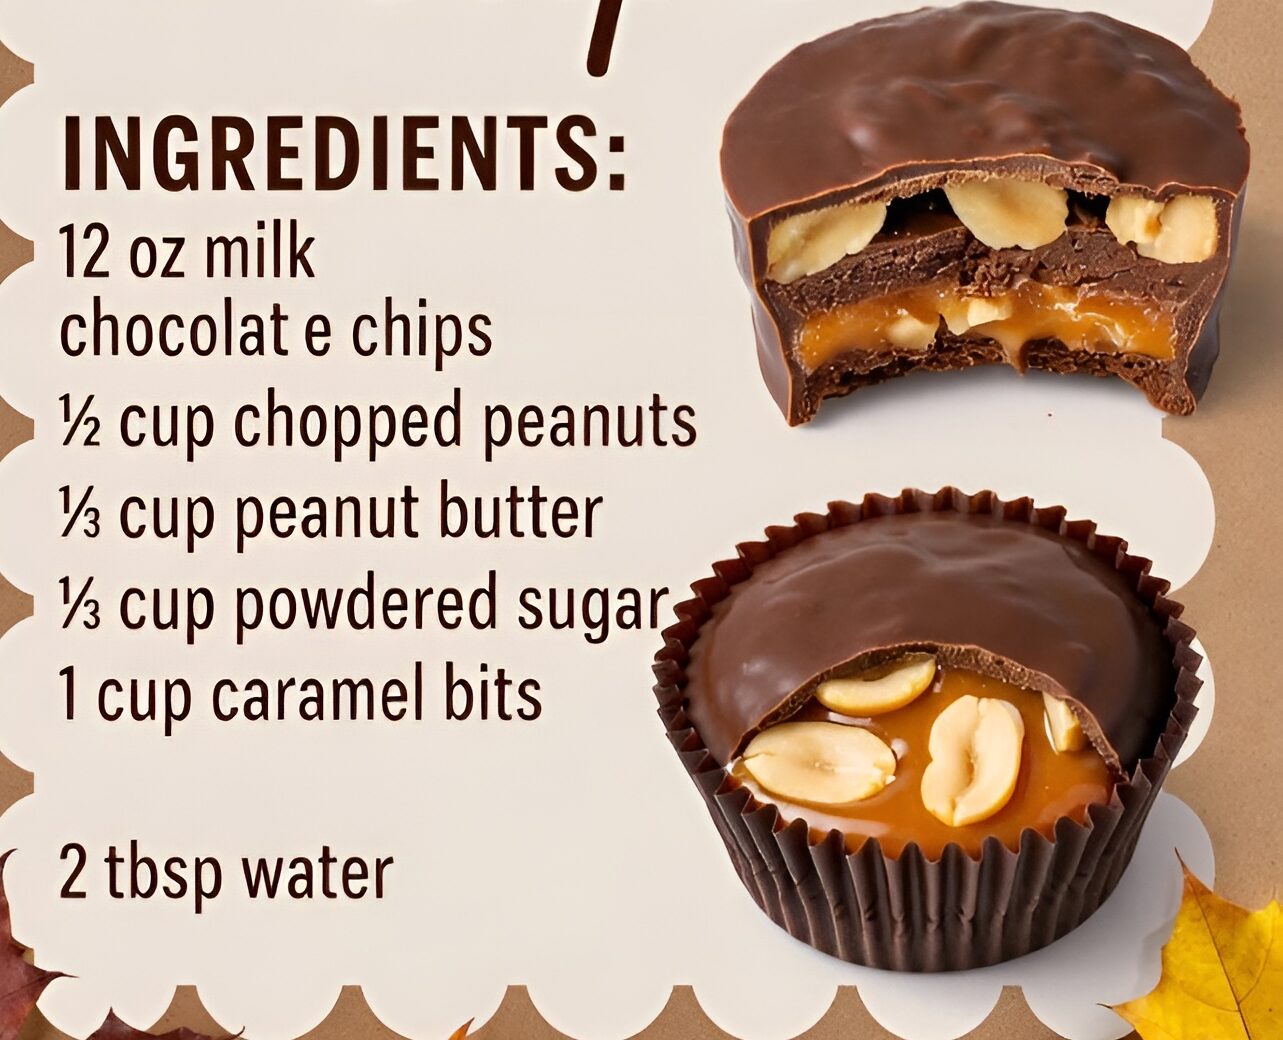
Gathering your ingredients is the first step to candy-making success. Here’s everything you’ll need:
- 12 oz milk chocolate chips
- ½ cup chopped peanuts
- ⅓ cup peanut butter
- ⅓ cup powdered sugar
- 1 cup caramel bits
- 2 tbsp water
Each ingredient plays a crucial role in creating that signature Snickers flavor profile. The milk chocolate provides a sweet, creamy base, while the peanut butter adds richness and helps bind the filling together.
Step-by-Step Instructions for Making Snickers Cups
Preparing Your Workspace
Before you begin making your homemade Snickers cups, line a muffin tin with paper liners. This will make removal much easier and give your candies a professional appearance. Having everything organized and within reach makes the candy-making process smooth and enjoyable.
Creating the Chocolate Base
Start by melting about half of your milk chocolate chips. You can do this in the microwave in 30-second intervals, stirring between each, or use a double boiler for more controlled heating. Once melted and smooth, spoon about a tablespoon of chocolate into each muffin liner, spreading it up the sides slightly to create a cup shape.
Place the muffin tin in the refrigerator for about 10 minutes to allow the chocolate to set firm. This creates a sturdy base that will hold your peanut butter caramel filling.
Making the Peanut Butter Layer
While your chocolate bases are setting, prepare the peanut butter mixture. In a bowl, combine the peanut butter with powdered sugar, mixing until you have a thick, moldable consistency. This mixture should hold together when pressed but still be soft enough to spread.
Preparing the Caramel Filling
In a microwave-safe bowl, combine your caramel bits with the water. Heat in short bursts, stirring frequently, until the caramel is melted and smooth. The water helps create a more fluid consistency that’s easier to work with. Be careful not to overheat, as caramel can burn quickly.
Assembling Your Snickers Cups
Remove your chocolate cups from the refrigerator. Add a layer of the peanut butter mixture to each cup, pressing it down gently but leaving room for the caramel and top chocolate layer. Sprinkle chopped peanuts over the peanut butter layer—this adds that essential crunch.
Carefully spoon the melted caramel over the peanuts, distributing it evenly among all the cups. Don’t worry if it’s not perfectly smooth; the rustic look adds to the homemade charm of these Snickers candies.
Adding the Final Chocolate Layer
Melt the remaining chocolate chips and spoon the melted chocolate over each cup, covering all the layers completely. Gently tap the muffin tin on the counter to help the chocolate settle and remove any air bubbles.
Return the tin to the refrigerator and chill for at least 2 hours, or until the chocolate is completely set and firm to the touch.
Nutritional Information for Snickers Cups
Each homemade Snickers cup contains approximately:
- Calories: 245
- Total Fat: 14g
- Saturated Fat: 6g
- Cholesterol: 5mg
- Sodium: 85mg
- Total Carbohydrates: 28g
- Dietary Fiber: 2g
- Sugars: 23g
- Protein: 5g
These values are estimates and will vary based on the specific brands of ingredients you use.
Creative Variations for Your Snickers Recipe
Dark Chocolate Snickers Cups
For a more sophisticated flavor profile, substitute dark chocolate for the milk chocolate. The slight bitterness of dark chocolate beautifully balances the sweet caramel and creates a more complex taste experience.
Almond Snickers Cups
Replace the peanuts and peanut butter with almond butter and chopped almonds for an almond joy-inspired variation. This alternative works wonderfully for those who prefer almonds or have peanut sensitivities.
Sea Salt Caramel Snickers Cups
Before the final chocolate layer sets completely, sprinkle a tiny pinch of flaky sea salt on top of each cup. The salt enhances all the flavors and adds a gourmet touch to these homemade Snickers treats.
Mini Snickers Bites
Use a mini muffin tin instead of regular-sized to create bite-sized treats. These are perfect for parties and portion control. You’ll get about twice as many mini cups from the same amount of ingredients.
Tips for Perfect Homemade Snickers Cups Every Time
Temperature control is crucial when working with chocolate. If your kitchen is warm, the chocolate may take longer to set, or the layers might blend together. Working in a cool kitchen or near air conditioning helps tremendously.
Don’t rush the chilling process. Allowing adequate time for each layer to set ensures clean, distinct layers in your finished Snickers cups. Patience truly pays off with this recipe.
Use quality chocolate chips for the best flavor and texture. The chocolate is a major component of these candies, so using premium ingredients makes a noticeable difference in the final result.
Storage and Serving Suggestions
Store your homemade Snickers cups in an airtight container in the refrigerator for up to two weeks. They can also be frozen for up to three months. If freezing, place parchment paper between layers to prevent sticking.
These chocolate peanut butter treats are best served slightly chilled, which keeps them firm and prevents the caramel from becoming too soft. Remove them from the refrigerator about 5 minutes before serving for the perfect texture.
Perfect Occasions for Snickers Cups
These homemade candies are ideal for:
- Halloween trick-or-treat alternatives
- Thanksgiving dessert tables
- Fall birthday parties
- Holiday gift baskets
- Autumn bake sales
- Cozy movie night treats
Presentation Ideas for Your Candy
Present your Snickers cups on a rustic wooden board surrounded by autumn leaves for a seasonal display. Alternatively, package them in clear cellophane bags tied with orange and brown ribbons for beautiful homemade gifts.
For parties, arrange the cups on tiered serving stands alongside other fall desserts. The varied heights create visual interest and make serving easier for guests.
Pairing Suggestions
These rich Snickers candies pair beautifully with:
- Hot apple cider
- Freshly brewed coffee
- Spiced chai tea
- Cold milk
- Pumpkin spice lattes
The combination of sweet caramel chocolate treats with a warm beverage is particularly comforting on chilly autumn evenings.
Why Homemade Beats Store-Bought
Making your own Snickers cups gives you complete control over ingredients. You can choose organic chocolate, natural peanut butter, and real caramel instead of processed alternatives. Plus, the homemade version contains no artificial preservatives or unnecessary additives.
The taste difference is remarkable. Freshly made candy has a richness and depth of flavor that mass-produced versions simply can’t match. Each bite feels more indulgent and special.
Making These Treats with Kids
This recipe is wonderful for involving children in the kitchen. Kids love the assembly process and watching the layers come together. Assign age-appropriate tasks: older children can help with melting and mixing, while younger ones can help with sprinkling peanuts or pressing the muffin liners into the tin.
Just remember to supervise closely when working with melted chocolate and caramel, as these can cause burns if handled carelessly.
My Personal Cooking Tip
Here’s my secret for achieving perfectly smooth chocolate layers: after melting your chocolate, let it cool for just 2-3 minutes before pouring. This slightly thicker chocolate spreads more evenly and creates a more professional-looking finish. Also, keep a small offset spatula handy for smoothing the top layer—it makes all the difference in achieving that polished, candy-shop appearance. Don’t be discouraged if your first batch isn’t perfect; like any skill, candy-making improves with practice. Embrace the small imperfections—they’re what make homemade treats so charming and special!