I’ll never forget the first time I tasted a brownie topped with chocolate mousse at a French patisserie during a trip to Paris years ago. The combination of dense, fudgy brownie beneath a cloud of airy chocolate mousse was nothing short of revelatory. When I returned home, I became obsessed with recreating that magical dessert, and after numerous kitchen experiments, I developed this recipe for chocolate mousse brownies that rivals anything I’ve tasted in a professional bakery.
Why Chocolate Mousse Brownies Are Special
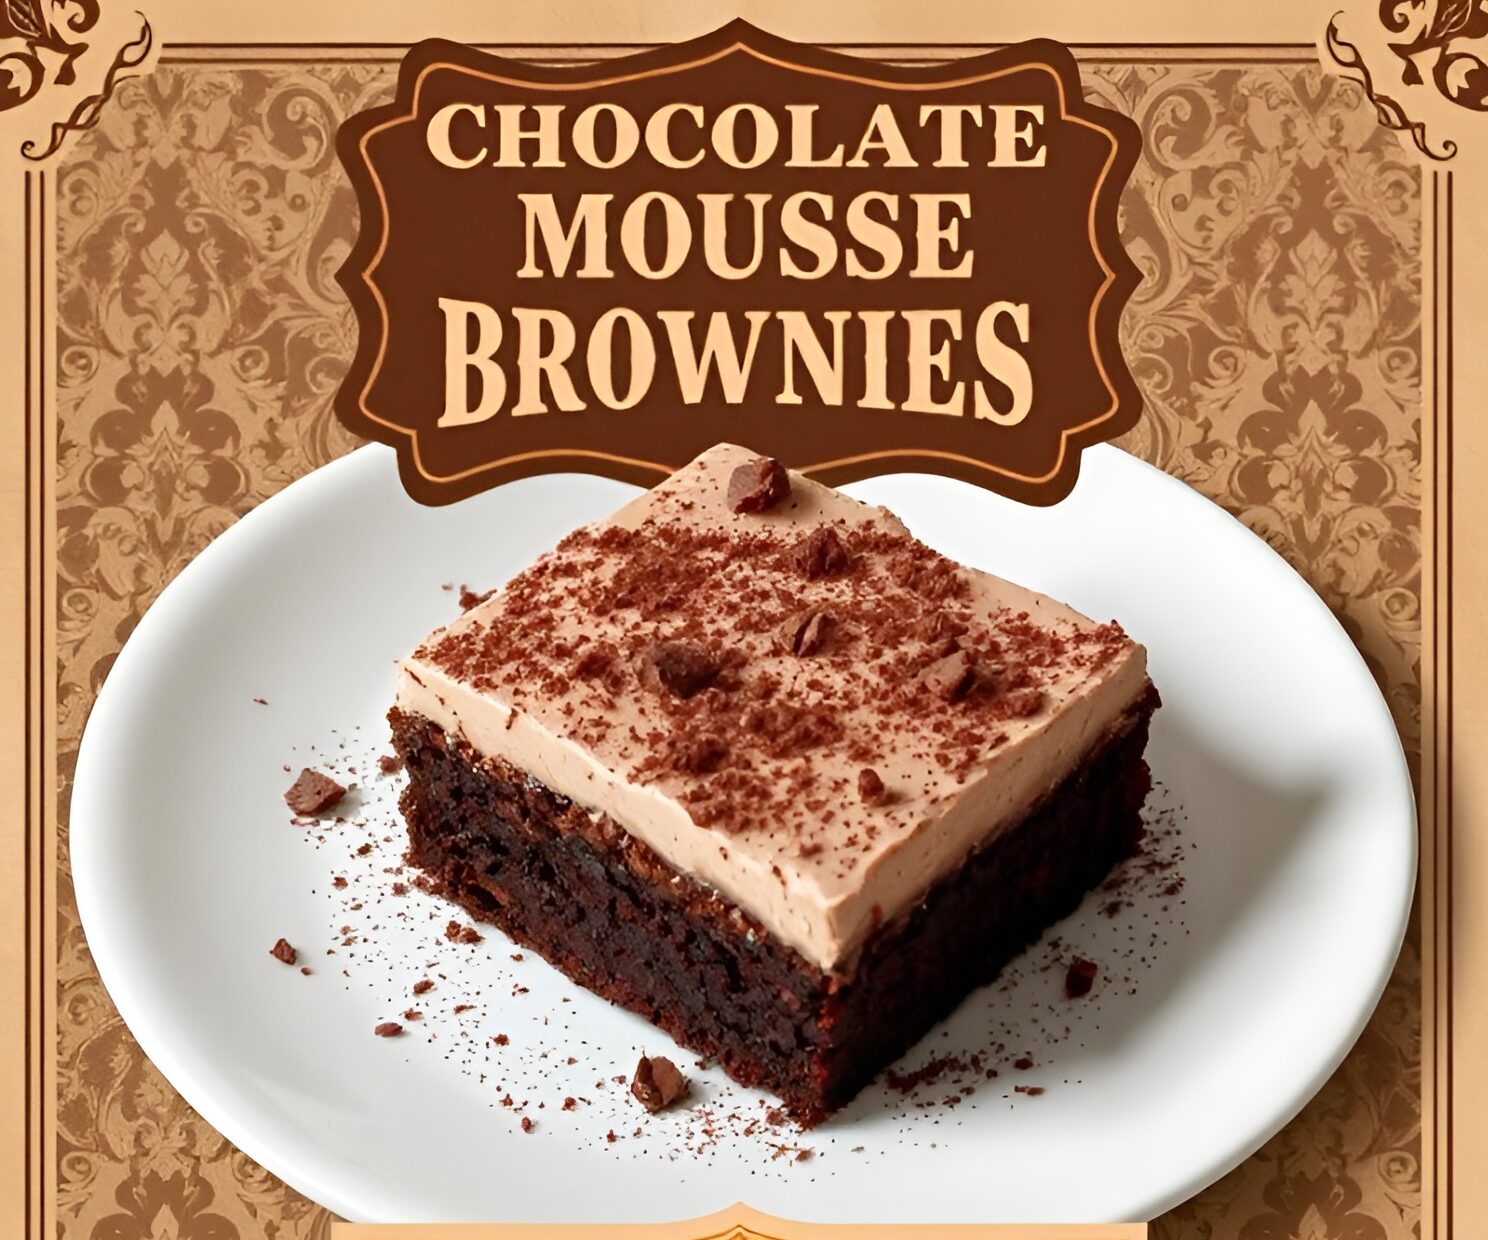
These aren’t your ordinary brownies. Chocolate mousse brownies represent the marriage of two beloved desserts: rich, chewy brownies and silky, sophisticated mousse. The contrast in textures—dense below, light above—creates an eating experience that feels both indulgent and elegant.
What makes this brownie recipe particularly appealing is its versatility. It’s fancy enough for dinner parties yet simple enough for weekend baking. The mousse topping transforms humble brownies into something spectacular without requiring advanced pastry skills.
Understanding the Components of Mousse Brownies
The genius of chocolate mousse brownies lies in understanding each component. The brownie base needs to be sturdy enough to support the mousse yet tender enough to cut cleanly with a fork. The mousse should be airy and light, providing a beautiful contrast to the brownie’s density.
The semi-sweet chocolate forms the foundation of both layers, creating a cohesive chocolate experience from bottom to top. Using quality chocolate makes an enormous difference in the final result.
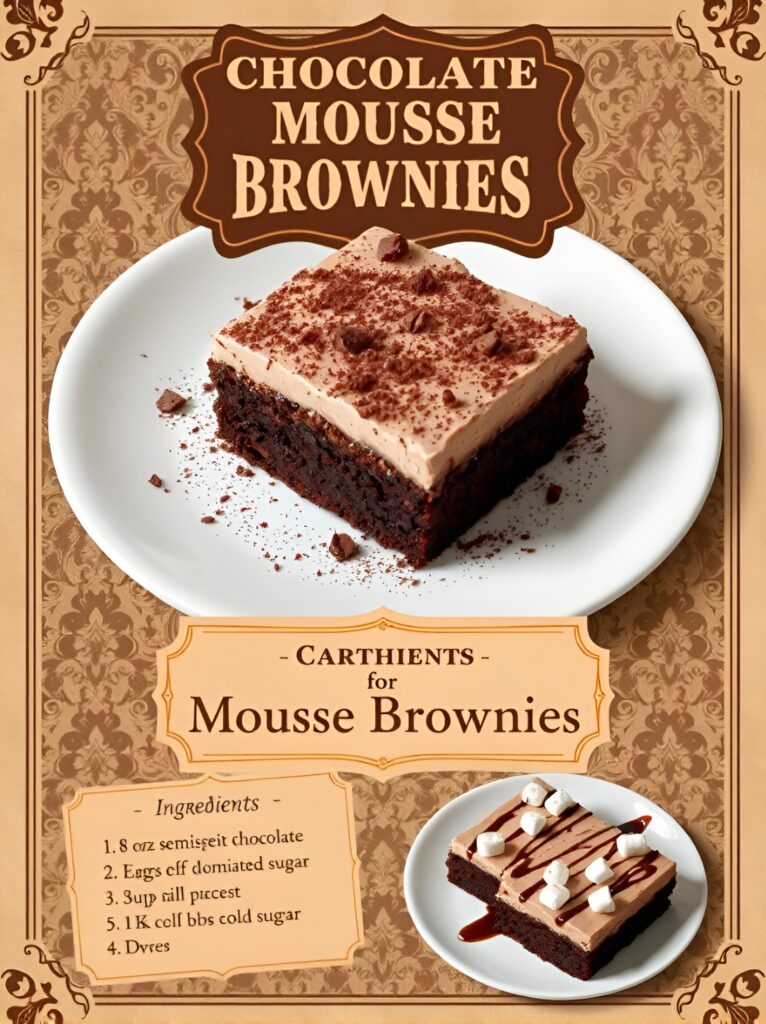
Essential Ingredients for Chocolate Mousse Brownies
Here’s what you’ll need to create these impressive brownies with mousse topping:
- 8 oz semi-sweet chocolate
- Eggs (quantity as needed for both brownie and mousse)
- Granulated sugar
- All-purpose flour (approximately 3 cups)
- 1 cup cold heavy cream
- Butter (for the brownie base)
The ingredients list may seem simple, but each element plays a crucial role in achieving that perfect balance of flavors and textures.
Step-by-Step Guide to Making Chocolate Mousse Brownies
Preparing the Brownie Base
Begin by preheating your oven to 350°F (175°C). Line a 9×13-inch baking pan with parchment paper, leaving some overhang on the sides for easy removal later. This preparation step makes serving your mousse-topped brownies much simpler.
Melt the butter and approximately 6 ounces of the semi-sweet chocolate together. You can do this in a double boiler or carefully in the microwave, stirring every 30 seconds to prevent burning. Once melted, let the chocolate mixture cool slightly—this prevents the eggs from scrambling when you add them.
Creating the Perfect Brownie Texture
In a large bowl, whisk together eggs and granulated sugar until the mixture becomes light and slightly fluffy. This incorporation of air helps create that desirable crackly top on your fudgy brownies. Add your cooled chocolate mixture to the egg mixture, stirring until fully combined.
Gently fold in the flour until just combined. Over-mixing at this stage can lead to tough brownies, and we want tender, fudgy results. The batter should be thick and glossy, coating the back of a spoon heavily.
Pour the brownie batter into your prepared pan, spreading it evenly to the corners. Bake for approximately 25-30 minutes, or until a toothpick inserted in the center comes out with just a few moist crumbs. Remember, slightly under-baked brownies are better than over-baked ones for this recipe.
Allow the brownies to cool completely in the pan. This cooling period is crucial—adding mousse to warm brownies will cause it to melt and ruin the layered effect.
Making the Chocolate Mousse Layer
While your brownies cool, prepare the chocolate mousse topping. Melt the remaining 2 ounces of semi-sweet chocolate and let it cool to room temperature. If the chocolate is too warm, it will deflate your whipped cream.
In a chilled bowl (I like to pop mine in the freezer for 10 minutes), whip the cold heavy cream until stiff peaks form. The cream should hold its shape when you lift the beaters. This step creates the light, airy texture that defines authentic mousse.
Combining Chocolate and Cream for Mousse
Here’s where the magic happens. Take a small amount of the whipped cream and fold it into the cooled melted chocolate. This initial mixing lightens the chocolate and makes it easier to incorporate into the remaining cream without deflating it.
Gently fold the chocolate mixture into the rest of the whipped cream using a rubber spatula. Use a folding motion—down, across the bottom, and up the side—rather than stirring. This technique preserves the airiness of the whipped cream while evenly distributing the chocolate.
Assembling Your Chocolate Mousse Brownies
Once your brownie base is completely cool, spread the chocolate mousse evenly over the top. Use an offset spatula for the smoothest finish, or embrace a more rustic, swirled appearance for homemade charm.
For an elegant finishing touch, dust the top with cocoa powder using a fine-mesh sieve. You could also add chocolate shavings, a drizzle of chocolate ganache, or a sprinkle of espresso powder for depth.
Refrigerate the assembled dessert for at least 2 hours before serving. This chilling time allows the mousse to set properly and makes cutting clean slices much easier.
Nutritional Information
Per serving (based on 16 brownies):
- Calories: 285
- Total Fat: 16g
- Saturated Fat: 10g
- Cholesterol: 75mg
- Sodium: 45mg
- Total Carbohydrates: 32g
- Dietary Fiber: 2g
- Sugars: 24g
- Protein: 4g
Creative Variations for Your Brownie Recipe
Mint Chocolate Mousse Brownies
Add ½ teaspoon of peppermint extract to the mousse layer for a refreshing twist. Top with crushed peppermint candies or Andes mints for a festive touch. This variation is particularly popular during the holiday season.
Espresso Chocolate Mousse Brownies
Dissolve 1 tablespoon of instant espresso powder in the melted chocolate for the brownie base. The coffee flavor enhances the chocolate and adds sophisticated depth. Coffee and chocolate are natural partners in dessert.
White Chocolate Mousse Brownies
Create a striking contrast by making the mousse layer with white chocolate instead of semi-sweet. The visual appeal and flavor combination of dark brownies with white mousse is stunning and delicious.
Salted Caramel Mousse Brownies
Drizzle salted caramel sauce between the brownie layer and chocolate mousse. The salt and caramel add complexity and make these decadent brownies even more irresistible.
Tips for Perfect Mousse Brownies Every Time
Quality chocolate makes an enormous difference in both layers. Choose chocolate you’d enjoy eating on its own. Avoid chocolate chips for the mousse, as they contain stabilizers that prevent smooth melting.
Don’t skip the chilling time. Properly chilled chocolate mousse brownies slice cleanly and maintain their beautiful layered appearance. Warm mousse will slide off the brownies when you try to serve them.
Use a hot, clean knife to cut your brownies. Dip the knife in hot water, wipe it clean, and then make your cut. Repeat this process between each slice for professional-looking results.
Serving Suggestions for Chocolate Desserts
Serve these elegant brownies slightly chilled on dessert plates with a dollop of additional whipped cream and fresh berries. The tartness of raspberries or strawberries provides a beautiful contrast to the rich chocolate.
For a more casual presentation, cut them into smaller squares and serve them as petit fours at parties. Their impressive appearance makes them conversation starters at any gathering.
Storage and Make-Ahead Tips
Store chocolate mousse brownies covered in the refrigerator for up to 4 days. The mousse layer is sensitive to temperature, so always keep them chilled until serving time.
You can make the brownie base a day ahead and add the mousse layer the day you plan to serve. This approach spreads out the work and ensures the freshest possible mousse topping.
While you can freeze the brownie base alone, I don’t recommend freezing the assembled dessert, as the mousse texture may become grainy when thawed.
Pairing Recommendations
These rich brownies pair beautifully with:
- Espresso or strong coffee
- Port or dessert wine
- Fresh raspberry coulis
- Vanilla ice cream
- Irish cream liqueur
The coffee in particular enhances the chocolate flavor and cuts through the richness of the mousse.
Perfect Occasions for Mousse-Topped Brownies
Chocolate mousse brownies are ideal for:
- Elegant dinner parties
- Birthday celebrations
- Valentine’s Day desserts
- Mother’s Day brunch
- Holiday dessert tables
- Special date nights at home
Presentation Ideas for Maximum Impact
Serve individual portions on white plates with a dusting of cocoa powder and a fresh mint leaf. The contrast of dark chocolate against white porcelain is visually striking.
For buffet-style serving, cut the brownies and arrange them on a tiered stand. Garnish with chocolate curls, fresh berries, or edible flowers for an impressive display.
Troubleshooting Common Issues
If your mousse deflates, you likely folded the chocolate in too vigorously or the chocolate was too warm. The solution is gentleness and patience—take your time with the folding process.
If your brownies are too cakey, you may have over-mixed the batter or over-baked them. Remember, a few moist crumbs on the toothpick means they’re perfectly done.
If the mousse won’t set, it needs more chilling time, or your cream wasn’t whipped to stiff enough peaks. Make sure the cream is very cold and don’t stop whipping until firm peaks form.
Why This Recipe Works
The combination of fudgy brownies and light mousse creates textural contrast that keeps every bite interesting. The chocolate theme throughout ties the dessert together while the different preparations—baked versus whipped—provide variety.
This dessert feels special occasion-worthy without requiring professional pastry skills or special equipment. It’s approachable yet impressive, making it perfect for home bakers looking to elevate their dessert game.
My Personal Cooking Tip
The secret to the most luxurious chocolate mousse layer is temperature control and gentle handling. Make sure your heavy cream is very cold before whipping—I even chill my mixing bowl and beaters for 10-15 minutes before starting. When folding the chocolate into the whipped cream, work slowly and deliberately, turning the bowl as you fold. It might take a minute longer, but the resulting mousse will be incredibly light and airy. Also, don’t be tempted to add sugar to the mousse; the sweetness from the brownies and chocolate is perfectly balanced without it. Trust the process, take your time, and you’ll create a dessert that tastes like it came from a French patisserie!