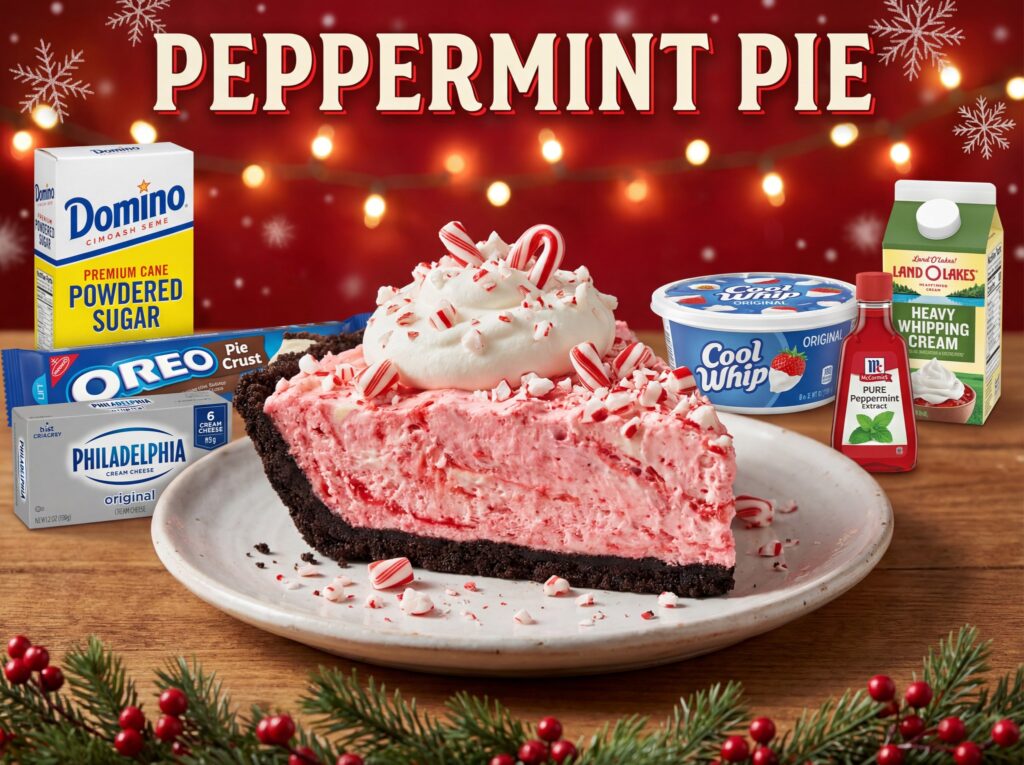
Last Christmas, when I was overwhelmed with holiday preparations and desperately needed a dessert that wouldn’t require oven time, I discovered this peppermint pie recipe and it instantly became a holiday tradition. The combination of an Oreo crust, creamy peppermint filling, and fluffy whipped topping creates something that tastes indulgent and complex despite requiring zero baking. My family now insists on this pie appearing at every December gathering, and guests consistently ask for the recipe, amazed when I tell them how simple it actually is.
Why Peppermint Pie Is Perfect for the Holidays
This no-bake peppermint pie captures everything wonderful about holiday desserts—festive peppermint flavor, beautiful pink color, impressive presentation, and that special-occasion feeling—while requiring minimal effort and no oven space. During the busy holiday season when every minute and every oven rack counts, this recipe is an absolute lifesaver.
What makes this peppermint dessert particularly appealing is its versatility. It works equally well at casual family dinners and formal holiday parties. The pretty pink color and candy cane garnish immediately signal “holiday celebration” without being overly themed or kitschy.
Understanding No-Bake Cream Pies
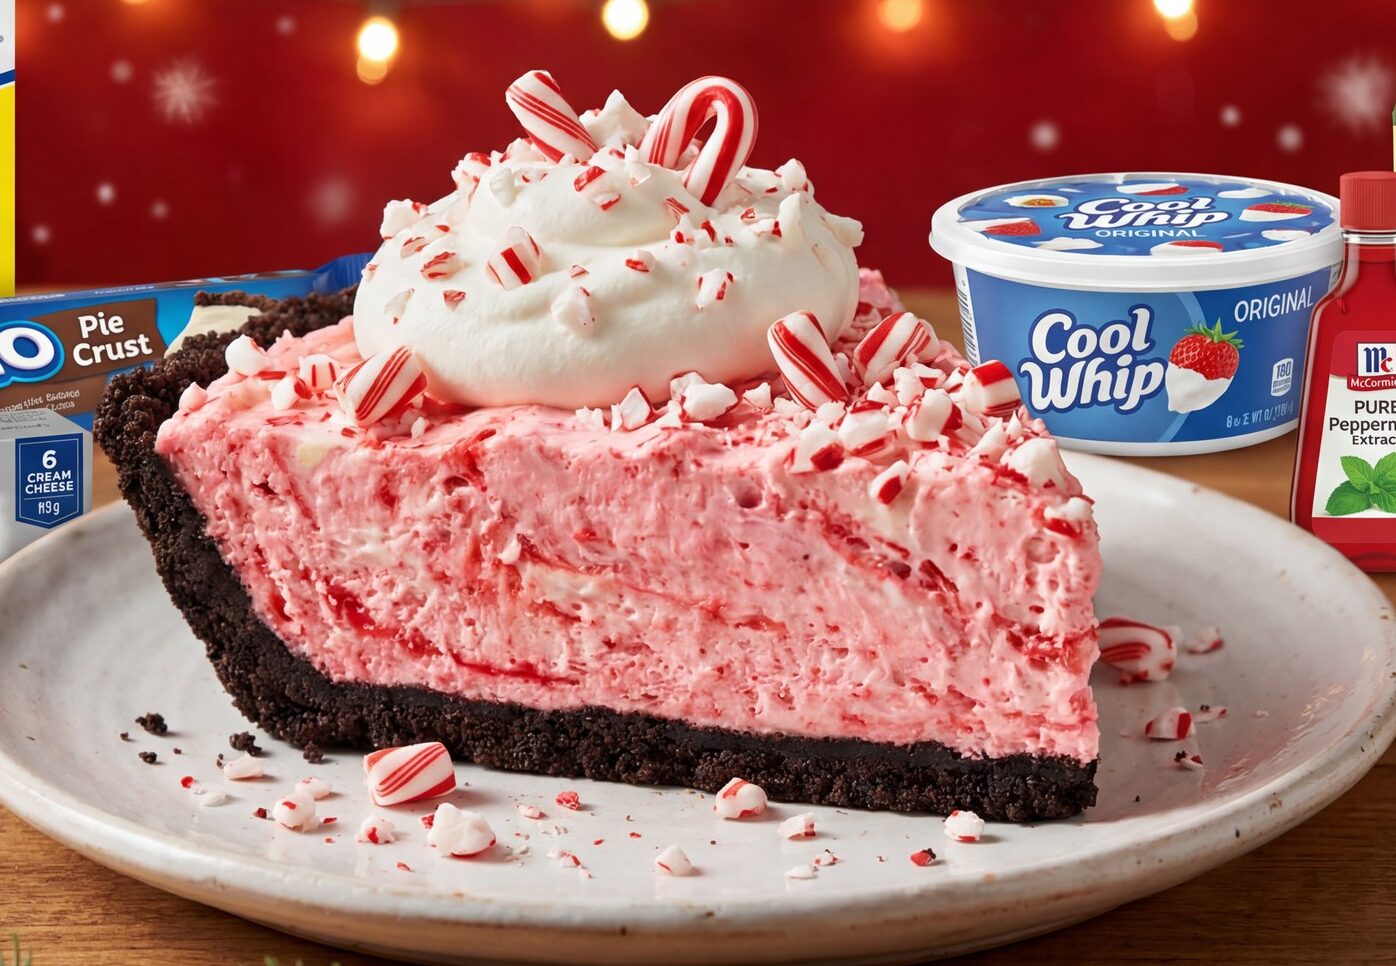
The success of this holiday pie recipe lies in understanding how cream cheese-based fillings work. The cream cheese provides structure and tang, the whipped topping adds lightness and volume, and the peppermint extract delivers that signature flavor. Together, they create a filling that’s firm enough to slice cleanly yet light enough to feel indulgent rather than heavy.
The Oreo crust provides the perfect dark chocolate contrast to the pale pink filling. The cookies’ chocolate flavor complements peppermint beautifully—it’s the same classic combination found in peppermint bark and chocolate-mint candies.
Essential Ingredients for Peppermint Pie
Here’s what you’ll need to create this festive dessert:
For the Oreo Crust:
- 1 package (36 cookies) Oreo cookies
- 6 tbsp butter, melted
For the Peppermint Filling:
- 8 oz cream cheese, softened
- ½ cup powdered sugar
- 1 tsp pure peppermint extract
- Red or pink food coloring (optional, for color)
- 8 oz Cool Whip, thawed and divided
- ½ cup heavy whipping cream (for additional whipped cream layer)
For Topping and Garnish:
- Remaining Cool Whip
- Crushed candy canes or peppermint candies
- Optional: chocolate syrup drizzle
These ingredients create a 9-inch pie that serves 8-10 people. The specific measurements ensure perfect texture—firm enough to slice but creamy enough to melt in your mouth.
Step-by-Step Instructions for Making Peppermint Pie
Creating the Oreo Crust
Begin by crushing the entire package of Oreo cookies into fine crumbs. You can use a food processor, which is fastest, or place cookies in a sealed plastic bag and crush with a rolling pin. Process until the crumbs are fine with no large pieces remaining—you want a texture similar to damp sand.
Transfer the Oreo crumbs to a medium bowl. Pour the melted butter over the crumbs and stir with a fork until all the crumbs are evenly moistened. Every crumb should be coated with butter—this helps the crust hold together and prevents it from being too crumbly.
Press the Oreo mixture firmly into the bottom and up the sides of a 9-inch pie pan. Use the bottom of a measuring cup or glass to really compact the crust, paying special attention to the seam where the bottom meets the sides. A well-compacted crust is essential for clean slicing later.
Refrigerate the crust for at least 30 minutes while you prepare the filling. This chilling time helps the butter solidify, firming up the crust and making it easier to add the filling without disturbing it.
Preparing the Peppermint Filling
In a large bowl, beat the softened cream cheese with an electric mixer until it’s completely smooth and fluffy, about 2-3 minutes. This initial beating is crucial—any lumps now will remain lumps in your finished pie, so take your time.
Add the powdered sugar and peppermint extract, beating until fully incorporated and smooth. Taste the mixture at this point—if you want more peppermint flavor, add extract in ¼ teaspoon increments. Remember that the flavor will mellow slightly once mixed with whipped topping.
If using food coloring, add just 2-3 drops of red or pink gel food coloring now. Mix well and assess the color—you can always add more, but you can’t remove it. The traditional pale pink is lovely, but you can make it deeper pink if preferred.
Add half of the Cool Whip (about 4 oz) to the cream cheese mixture. Using a rubber spatula, gently fold it in rather than stirring vigorously. The folding motion preserves the airiness of the whipped topping, creating a lighter filling.
Continue folding until the mixture is uniform in color with no white streaks visible. The filling should be smooth, fluffy, and pale pink (if you added coloring).
Assembling the Peppermint Pie
Remove the chilled Oreo crust from the refrigerator. Spoon the peppermint filling into the crust, spreading it evenly with an offset spatula or the back of a spoon. Make sure the filling reaches all the way to the edges and is level across the top.
In a separate bowl, whip the heavy cream until stiff peaks form. This additional whipped cream layer adds extra richness and creates beautiful height. Spread or pipe this whipped cream over the peppermint filling as an intermediate layer.
Top with the remaining Cool Whip, spreading it evenly over the whipped cream layer. You can create decorative swirls and peaks with the back of a spoon for visual interest, or smooth it flat for a more modern presentation.
Final Garnishing
Crush candy canes or peppermint candies by placing them in a sealed plastic bag and tapping with a rolling pin or meat mallet. You want a variety of sizes—some fine powder and some larger chunks for textural interest.
Sprinkle the crushed candy over the top of the pie, concentrating it in the center or creating a decorative border around the edges. The red and white pieces look festive and immediately identify the pie’s flavor.
If desired, drizzle chocolate syrup over the top in a decorative pattern. Use a squeeze bottle or a plastic bag with the corner snipped off for controlled drizzling. The chocolate adds visual drama and enhances the chocolate-mint flavor combination.
Chilling and Serving
Cover the pie carefully with plastic wrap, making sure it doesn’t touch the whipped topping surface. You can insert toothpicks around the edge to tent the plastic wrap if needed.
Refrigerate for at least 4 hours, though overnight is ideal. This chilling time allows all the layers to set properly and the flavors to meld together. The pie slices most cleanly after thorough chilling.
When ready to serve, dip a sharp knife in hot water, wipe it dry, and make your cuts. Clean and re-dip the knife between each slice for the neatest presentation.
Nutritional Information
Per slice (based on 10 slices):
- Calories: 385
- Total Fat: 24g
- Saturated Fat: 14g
- Cholesterol: 55mg
- Sodium: 285mg
- Total Carbohydrates: 40g
- Dietary Fiber: 1g
- Sugars: 30g
- Protein: 4g
Creative Variations for Peppermint Dessert
Chocolate Peppermint Pie
Add 2 tablespoons of cocoa powder to the cream cheese mixture for chocolate-peppermint flavor throughout. Garnish with chocolate shavings instead of just crushed candy canes.
Grasshopper Pie
Replace peppermint extract with crème de menthe liqueur for an adult version of this classic. The alcohol prevents the filling from setting quite as firmly, creating a softer, more luxurious texture.
White Chocolate Peppermint Pie
Fold ½ cup of melted and cooled white chocolate into the cream cheese mixture before adding the whipped topping. This creates richness and intensifies the sweetness.
Individual Peppermint Parfaits
Layer crushed Oreos, peppermint filling, and whipped topping in clear glasses for individual servings. This presentation is perfect for parties and shows off all the beautiful layers.
Tips for Perfect No-Bake Pie
Room temperature cream cheese is absolutely non-negotiable. Cold cream cheese will not blend smoothly and will create lumps that are impossible to remove. Plan ahead and leave it out for at least 1-2 hours.
Don’t over-extract the peppermint. Peppermint extract is potent—a little goes a long way. Start with less than you think you need and add more if desired. Too much creates a medicinal taste.
Crush the Oreo crust thoroughly. Large cookie chunks create gaps in the crust that can cause structural issues when slicing. Fine, uniform crumbs create the most stable base.
Storage and Make-Ahead Options
This peppermint pie is an excellent make-ahead dessert. Prepare it up to 2 days before your event and keep it covered in the refrigerator. The flavors actually improve with time as they meld together.
Store leftover pie covered in the refrigerator for up to 4 days. The crust will soften slightly over time as it absorbs moisture from the filling, but the pie remains delicious.
I don’t recommend freezing this particular pie. While the filling freezes reasonably well, the whipped topping layers can become grainy when thawed, and the Oreo crust texture suffers.
Serving Suggestions for Holiday Gatherings
Serve slices of peppermint pie on white or red plates to enhance the holiday color scheme. Add a sprig of fresh mint as garnish for elegant presentation and a hit of fresh mint aroma.
For extra decadence, serve each slice with a drizzle of hot fudge sauce. The warm chocolate sauce against the cold, creamy pie creates an incredible temperature and flavor contrast.
Pair with hot chocolate, peppermint tea, or coffee. The warm beverages complement the cool, creamy pie perfectly and enhance the minty flavor.
Perfect Occasions for Peppermint Pie
This festive pie is ideal for:
- Christmas dinner
- New Year’s Eve celebrations
- Holiday office parties
- Cookie exchange events (yes, pie at a cookie party!)
- Friendsgiving gatherings
- Winter birthday celebrations
- Any December entertaining
Why This Recipe Works So Well
The cream cheese provides tang that prevents the dessert from being cloyingly sweet despite significant sugar content. This tanginess creates balance and makes the pie more sophisticated than simple peppermint fluff.
The combination of Cool Whip and whipped cream creates perfect texture—Cool Whip provides stability and ease, while fresh whipped cream adds richness and authentic dairy flavor.
The Oreo crust needs no baking because the butter firms up when chilled, creating structure. This makes the pie genuinely no-bake from start to finish—no oven required at any stage.
The Psychology of Holiday Flavors
Peppermint triggers holiday associations for most people due to candy canes, peppermint bark, and other seasonal treats. Using this flavor in desserts immediately creates festive feelings and happy holiday memories.
The pink color enhances these associations, making the pie feel special and celebratory. Food color impacts flavor perception—the pink actually makes the peppermint taste stronger and more appealing.
Combining familiar elements (Oreos, whipped cream, candy canes) in new ways creates both comfort and novelty—the dessert feels simultaneously nostalgic and special.
Troubleshooting Common Pie Issues
If your filling is too soft and won’t hold its shape, it needs more chilling time. Return it to the refrigerator for another 2-3 hours, and ensure your refrigerator is cold enough (below 40°F).
If the crust is too crumbly when you cut it, you didn’t add enough butter or didn’t press it firmly enough. Next time, ensure the crumbs are well-moistened and really compact that crust.
If peppermint flavor is too strong or tastes medicinal, you used too much extract. There’s no fix for this batch, but remember for next time—start with less and add more if needed.
Making This Pie with Children
This recipe is wonderful for involving kids in holiday baking. Children can help crush Oreos, press the crust into the pan, and sprinkle candy cane pieces on top—all engaging tasks that don’t require advanced skills.
The no-bake aspect means no hot ovens to worry about, making it safer for young helpers. The mixing and assembly processes are straightforward enough that elementary-age children can successfully participate in most steps.
Let kids decide on decorating—they can create patterns with crushed candy, drizzle chocolate artistically, or add extra Oreo cookies as garnish. This creative freedom makes them feel ownership of the finished dessert.
The Science Behind Cream Pies
Cream cheese contains protein and fat that, when beaten, create a stable structure able to support other ingredients. The emulsifiers in cream cheese help blend ingredients that would otherwise separate.
Cool Whip contains stabilizers designed to maintain structure even when mixed with other ingredients and held in the refrigerator for days. This is why it works better for no-bake pies than fresh whipped cream alone.
Proper chilling allows all the fats in the pie—from cream cheese, butter in the crust, and dairy in whipped cream—to solidify, creating firm structure that slices cleanly.
My Personal Cooking Tip
Here’s my secret for the absolute best peppermint pie: instead of using just food coloring, I add 2 tablespoons of crushed candy canes to the cream cheese mixture along with the extract. This adds subtle texture and intensifies the peppermint flavor with real peppermint candy rather than just extract. The tiny pieces of candy dissolve slightly into the filling, creating little bursts of intense mint flavor throughout. When pressing the Oreo crust, I actually save about ¼ cup of the crumb mixture and press it around the rim of the pie pan before adding the filling—this creates a decorative dark border that frames the pale pink filling beautifully and prevents any exposed pie pan from showing. For the most impressive presentation, I use a star piping tip to pipe the final Cool Whip layer in decorative rosettes around the edge of the pie, creating an elegant bakery-style border. Finally, here’s my favorite finishing touch: I stick whole mini candy canes around the edge of the pie, inserting them at an angle so they look like little handles. This makes the pie Instagram-worthy gorgeous and gives guests something fun to eat alongside their slice. With these touches, your $8 homemade pie will look like a $40 dessert from a fancy bakery!