The first time I discovered the magic of bite-sized cheesecakes, I was hosting a baby shower for my best friend. I needed something elegant, easy to serve, and absolutely delicious – something that would impress without requiring guests to balance plates and forks. That’s when I stumbled upon the world of mini cheesecake bites, and honestly, my dessert game has never been the same.
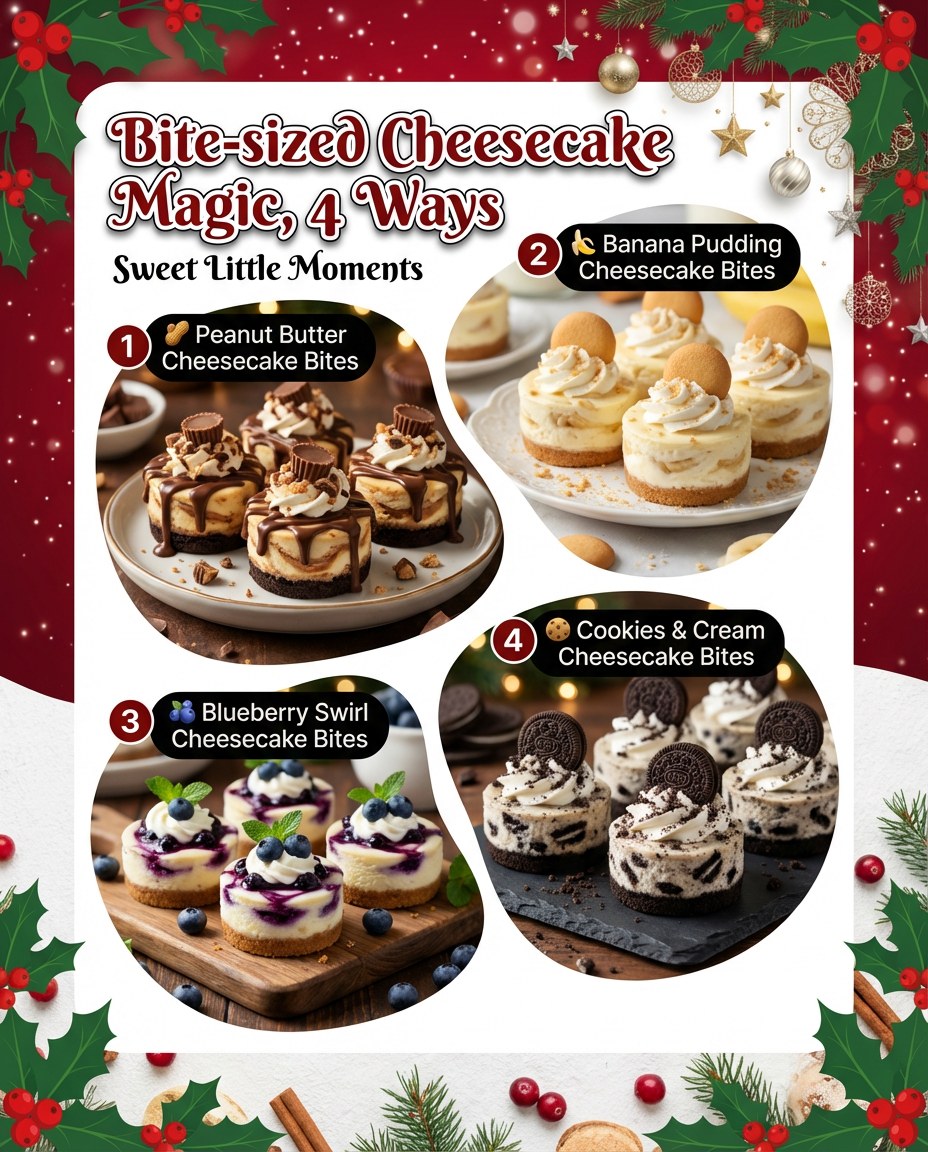
What started as a practical solution turned into an obsession. These perfectly portioned treats combine the luxurious creaminess of traditional cheesecake with the convenience of grab-and-go desserts. Today, I’m sharing my four favorite variations that have become absolute staples at every gathering I host: Peanut Butter Cheesecake Bites, Banana Pudding Cheesecake Bites, Blueberry Swirl Cheesecake Bites, and Cookies & Cream Cheesecake Bites.
Why Mini Cheesecake Bites Are the Ultimate Party Dessert
Let me tell you why these bite-sized beauties have completely transformed the way I approach dessert. First, there’s the obvious convenience factor. No water bath, no springform pan drama, no worrying about cracks ruining your presentation. These little gems bake up perfectly in a standard muffin tin, and the best part? You can make them days ahead of time.
But beyond the practicality, there’s something truly special about individual desserts. Each guest gets their own perfect portion, beautifully decorated and ready to enjoy. No messy slicing, no arguments about who gets the biggest piece, and best of all – people can try multiple flavors without committing to a huge slice.
I’ve watched these cheesecake bites disappear at birthday parties, holiday gatherings, office potlucks, and intimate dinner parties. Kids love them because they’re the perfect size for little hands. Adults appreciate the sophisticated flavors and elegant presentation. And I love them because they’re surprisingly foolproof to make.
The Foundation: Mastering the Basic Cheesecake Bite Technique
Before we dive into each specific flavor, let’s talk about the fundamentals that apply to all mini cheesecake bites. Understanding these basics will set you up for success no matter which variation you choose.
The Perfect Pan Setup: I always use a standard 12-cup muffin tin lined with paper cupcake liners. The liners aren’t just for easy removal – they also create a barrier that helps the cheesecakes bake evenly and prevents sticking. Trust me, I learned this the hard way when I tried to skip them once. It was a disaster.
Temperature Matters: Room temperature ingredients are absolutely crucial for smooth, lump-free cheesecake filling. I take my cream cheese, eggs, and sour cream out of the refrigerator at least two hours before I start baking. This one simple step makes an enormous difference in the final texture.
The Gentle Mix: Overmixing is the enemy of perfect cheesecake. When you beat too much air into the batter, you risk cracks and sinking centers. I always use my mixer on low speed and stop as soon as everything is just combined. It takes a little restraint, but the results are worth it.
The Cooling Process: Patience during cooling prevents cracks and ensures the perfect texture. I let my cheesecake bites cool in the pan at room temperature for at least 30 minutes, then transfer them to the refrigerator for at least 3-4 hours (or overnight) before decorating and serving.
Peanut Butter Cheesecake Bites: The Chocolate Lover’s Dream
My husband calls these “Reese’s Cup Cheesecake,” and honestly, he’s not wrong. These rich, decadent bites combine everything amazing about peanut butter cups with the luxurious creaminess of cheesecake.
For the Chocolate Cookie Crust:
- 1½ cups Oreo cookie crumbs (about 15 cookies, filling included)
- 3 tablespoons unsalted butter, melted
- 2 tablespoons granulated sugar
For the Peanut Butter Cheesecake Filling:
- 16 ounces cream cheese, softened
- ⅔ cup granulated sugar
- ½ cup creamy peanut butter
- 2 large eggs, room temperature
- ⅓ cup sour cream
- 1 teaspoon vanilla extract
- 1 tablespoon all-purpose flour
For the Chocolate Topping:
- 1 cup semi-sweet chocolate chips
- ¼ cup heavy cream
- 12 mini Reese’s peanut butter cups, for garnish
Making the Peanut Butter Cheesecake Bites:
Start by preheating your oven to 325°F and lining your muffin tin with cupcake liners. Crush your Oreos (filling and all) into fine crumbs using a food processor or by placing them in a zip-top bag and crushing with a rolling pin. Mix the crumbs with melted butter and sugar until the mixture resembles wet sand.
Press about 1½ tablespoons of the crust mixture into the bottom of each liner, packing it down firmly with the back of a spoon or a small glass. Bake the crusts for 5 minutes, then set aside to cool slightly while you prepare the filling.
In a large bowl, beat the softened cream cheese on medium speed for about 2 minutes until smooth and fluffy. Add the sugar and peanut butter, beating until well combined. Mix in the sour cream, vanilla, and flour. Finally, add the eggs one at a time, mixing on low speed just until incorporated.
Divide the filling evenly among the prepared crusts, filling each about three-quarters full. Bake for 18-20 minutes, until the edges are set but the centers still have a slight jiggle. Let them cool completely in the pan, then refrigerate for at least 4 hours or overnight.
For the chocolate topping, heat the heavy cream in a small saucepan until it just begins to simmer. Pour it over the chocolate chips in a heat-safe bowl and let sit for 2 minutes, then stir until smooth and glossy. Spoon or pipe the chocolate ganache over each chilled cheesecake, then top with a mini peanut butter cup. Return to the refrigerator until the chocolate sets.
Banana Pudding Cheesecake Bites: Southern Comfort in Miniature
These cheesecake bites taste exactly like my grandmother’s banana pudding, but in the most elegant, party-ready form imaginable. The combination of vanilla wafers, fresh bananas, and creamy cheesecake is pure nostalgia in every bite.
For the Vanilla Wafer Crust:
- 1½ cups vanilla wafer cookie crumbs
- 3 tablespoons unsalted butter, melted
- 2 tablespoons granulated sugar
For the Banana Cheesecake Filling:
- 16 ounces cream cheese, softened
- ⅔ cup granulated sugar
- 2 tablespoons all-purpose flour
- ⅓ cup sour cream
- 1 teaspoon vanilla extract
- ½ cup mashed ripe banana (about 1 large banana)
- 2 large eggs, room temperature
For Topping:
- 1 cup heavy whipping cream
- 3 tablespoons powdered sugar
- ½ teaspoon vanilla extract
- Fresh banana slices
- Mini vanilla wafers
Creating Banana Pudding Cheesecake Bites:
Preheat your oven to 325°F and line a muffin tin with paper liners. Crush the vanilla wafers into fine crumbs and mix with melted butter and sugar. Press this mixture firmly into the bottom of each liner and bake for 5 minutes. Remove from the oven and let cool slightly.
For the filling, beat the softened cream cheese with sugar and flour on low speed until smooth. Add the sour cream, vanilla, and mashed banana, mixing until well combined. Add the eggs one at a time, beating on low speed just until incorporated. The mixture might look slightly lumpy from the banana, and that’s perfectly fine.
Fill each crust with cheesecake batter, leaving just a little room at the top. Bake for 20-22 minutes until the edges are set and the centers barely jiggle. Cool at room temperature for 30 minutes, then refrigerate for at least 3 hours.
Before serving, make the whipped cream topping by beating cold heavy cream with powdered sugar and vanilla until stiff peaks form. Pipe or dollop the whipped cream onto each cheesecake, then garnish with a fresh banana slice and a mini vanilla wafer. These are best served the same day you add the banana slices to prevent browning.
Blueberry Swirl Cheesecake Bites: Elegant and Fruity
There’s something about the beautiful purple swirls in these cheesecake bites that makes them look incredibly impressive, even though they’re actually quite simple to make. The tangy blueberries balance perfectly with the rich, creamy cheesecake filling.
For the Graham Cracker Crust:
- 1½ cups graham cracker crumbs
- 3 tablespoons unsalted butter, melted
- 2 tablespoons granulated sugar
For the Blueberry Swirl:
- 1 cup fresh blueberries
- ¼ cup granulated sugar
- 1 tablespoon lemon juice
- 2 teaspoons water
- 1 teaspoon cornstarch
For the Cheesecake Filling:
- 16 ounces cream cheese, softened
- ½ cup granulated sugar
- ⅓ cup sour cream
- 1 teaspoon vanilla extract
- 1 teaspoon lemon zest
- 2 large eggs, room temperature
For Topping:
- Whipped cream
- Fresh blueberries
- Mint leaves (optional)
Crafting Blueberry Swirl Cheesecake Bites:
Begin by making the blueberry swirl since it needs time to cool. Combine blueberries, sugar, and lemon juice in a small saucepan over medium heat. Cook for about 5 minutes, mashing the berries as they soften. Mix the water and cornstarch in a small bowl, then stir into the blueberry mixture. Cook for another 1-2 minutes until thickened. Strain through a fine-mesh strainer to remove the skins, then refrigerate until completely cool.
Preheat your oven to 325°F and line a muffin tin. Mix graham cracker crumbs with melted butter and sugar, then press into the bottom of each liner. Bake for 5 minutes and set aside.
Beat cream cheese with sugar until smooth. Add sour cream, vanilla, and lemon zest, mixing well. Add eggs one at a time on low speed, just until combined. Fill each crust about three-quarters full with cheesecake batter.
Drop about half a teaspoon of the cooled blueberry mixture onto the top of each cheesecake. Use a toothpick or skewer to gently swirl the blueberry sauce into the cheesecake, creating beautiful marble patterns. Be gentle and don’t swirl too deep or you might disturb the crust.
Bake for 16-18 minutes until edges are set but centers still jiggle slightly. Cool completely, then refrigerate for at least 4 hours. Top with whipped cream, fresh blueberries, and a mint leaf just before serving.
Cookies & Cream Cheesecake Bites: The Crowd-Pleasing Classic
These are the cheesecake bites that disappear first at every party I bring them to. There’s something universally beloved about Oreos, and when you combine them with creamy cheesecake, magic happens.
For the Oreo Crust:
- 1½ cups Oreo cookie crumbs (about 15 cookies, with filling)
- 3 tablespoons unsalted butter, melted
For the Cookies & Cream Filling:
- 16 ounces cream cheese, softened
- ⅔ cup granulated sugar
- ⅓ cup sour cream
- 1 teaspoon vanilla extract
- 2 large eggs, room temperature
- 8-10 Oreo cookies, roughly chopped
For Topping:
- Whipped cream
- Crushed Oreos
- Mini Oreo cookies
Assembling Cookies & Cream Cheesecake Bites:
Preheat oven to 325°F and line your muffin tin. Crush Oreos into fine crumbs and mix with melted butter. Press firmly into each liner and bake for 5 minutes. Set aside to cool.
Beat cream cheese with sugar until smooth and creamy, scraping down the bowl as needed. Add sour cream and vanilla, mixing until combined. Add eggs one at a time on low speed, mixing just until incorporated. Gently fold in the chopped Oreos by hand.
Divide the filling evenly among the prepared crusts, filling each about three-quarters full. The chopped Oreos should be distributed throughout the batter. Bake for 16-18 minutes until just set. The centers should still jiggle slightly when you gently tap the pan.
Cool completely at room temperature, then refrigerate for at least 4 hours or overnight. Before serving, top each cheesecake bite with a swirl of whipped cream, sprinkle with crushed Oreos, and place a mini Oreo cookie on top for that picture-perfect finish.
Storage and Make-Ahead Tips
One of my favorite things about these mini cheesecake bites is how well they store and travel. Here’s what you need to know:
Refrigerator Storage: All four varieties will keep beautifully in an airtight container in the refrigerator for up to 5 days. I like to store them in a single layer to prevent the toppings from getting squished. If you need to stack them, place parchment paper between layers.
Freezing: You can absolutely freeze these cheesecake bites! I recommend freezing them before adding the final decorative toppings (whipped cream, fresh fruit, etc.). Wrap each one individually in plastic wrap, then place them in a freezer-safe container. They’ll keep for up to 3 months. Thaw overnight in the refrigerator before adding toppings and serving.
Make-Ahead Strategy: I typically bake my cheesecake bites 1-2 days before I need them. This actually improves the flavor as the cheesecakes have time to fully set and the flavors meld together. I add the whipped cream and final garnishes on the day of serving to keep everything looking fresh and beautiful.
Troubleshooting Common Issues
Even though these mini cheesecakes are pretty foolproof, here are solutions to the most common problems:
Cracked Tops: This usually means the oven temperature was too high or the cheesecakes were overbaked. Make sure your oven temperature is accurate (use an oven thermometer if you’re unsure). Also, remember that the centers should still jiggle slightly when you remove them from the oven.
Sinking Centers: This typically happens when the batter is overmixed, incorporating too much air. Mix on low speed and stop as soon as ingredients are combined. Also, avoid opening the oven door during baking, as temperature fluctuations can cause sinking.
Soggy Crusts: Make sure you’re pressing the crust firmly enough and pre-baking it for those crucial 5 minutes. This creates a barrier that prevents the filling from soaking into the crust.
Difficult to Remove from Liners: This is why room temperature ingredients and proper cooling are so important. Cold cheesecakes are much easier to unwrap than warm ones. If you’re still having trouble, pop them in the freezer for 15-20 minutes to firm up even more.
Nutritional Information (Per Cheesecake Bite)
Here’s an approximate nutritional breakdown for each variety:
Peanut Butter: Calories: 285, Total Fat: 19g, Carbohydrates: 24g, Protein: 6g, Sugar: 18g
Banana Pudding: Calories: 215, Total Fat: 14g, Carbohydrates: 19g, Protein: 4g, Sugar: 14g
Blueberry Swirl: Calories: 195, Total Fat: 13g, Carbohydrates: 17g, Protein: 3g, Sugar: 13g
Cookies & Cream: Calories: 240, Total Fat: 16g, Carbohydrates: 21g, Protein: 4g, Sugar: 16g
Serving Suggestions and Presentation Ideas
The way you present these cheesecake bites can take them from delicious to absolutely stunning. Here are my favorite serving ideas:
Dessert Platters: Arrange all four varieties on a large platter for a beautiful assortment. The different colors and toppings create a visually striking display that invites guests to try multiple flavors.
Individual Servings: For more formal occasions, place each cheesecake bite on a small dessert plate with a fork and a fresh strawberry or mint sprig for garnish. This elevates the presentation and makes each guest feel special.
Cake Stands: Display your cheesecake bites on a tiered cake stand for a beautiful centerpiece that doubles as dessert. This works particularly well for baby showers, bridal showers, and birthday parties.
Gift Boxes: Package individual cheesecake bites in clear boxes tied with ribbon for party favors or hostess gifts. Just make sure to keep them refrigerated until the last possible moment.
My Personal Tips for Cheesecake Bite Success
After making hundreds of these mini cheesecakes over the years, I’ve developed some personal tricks that consistently deliver perfect results:
Invest in Quality Cream Cheese: I always use Philadelphia cream cheese. The consistency is reliable, and the flavor is consistently excellent. Store brands can work, but the texture might be slightly different.
Don’t Skip the Sour Cream: Some recipes use only cream cheese, but I find that adding sour cream creates a lighter, more balanced flavor and a creamier texture. It’s worth keeping it in the recipe.
Use Fresh Ingredients: This seems obvious, but fresh eggs, fresh cream cheese (check those expiration dates!), and fresh fruit really do make a noticeable difference in both flavor and texture.
Room Temperature Everything: I can’t stress this enough. Room temperature ingredients blend more smoothly, creating that perfectly creamy texture we’re after. Plan ahead and leave everything out for at least 2 hours before you start.
Gentle Hands: From mixing the batter to swirling in the toppings, a gentle touch yields better results. You’re creating something delicate and special – treat it that way!
These bite-sized cheesecake creations have become my signature dessert. Whether I’m bringing them to a potluck, serving them at a dinner party, or just making them for a special family treat, they never fail to impress. The best part? Watching people’s faces light up when they take that first bite. That moment of pure dessert joy never gets old.
So grab your muffin tin and get baking! Start with whichever flavor calls to you most – though I have to warn you, once you make one variety, you’ll probably want to try them all. Happy baking!