I still remember the first time I made this no bake Oreo pie for a last-minute dinner party. A friend called asking if she could bring a few extra guests, and I suddenly needed a dessert that could feed a crowd but required minimal effort since I was already overwhelmed with preparation. This pie saved the day, and it’s been my go-to emergency dessert ever since. The best part? Everyone assumes it’s complicated because it looks and tastes so sophisticated.
Why No Bake Oreo Pie Is a Game-Changer
This Oreo dessert pie represents everything wonderful about simple, foolproof recipes. With just a handful of ingredients and no oven time required, you can create a dessert that rivals anything from a fancy bakery. The cookies and cream flavor is universally loved, making it perfect for any gathering where you want to please everyone from kids to grandparents.
The beauty of this no-bake pie lies in its versatility. It works equally well as a summer dessert when you don’t want to heat up the kitchen, a last-minute contribution to potlucks, or an impressive conclusion to a formal dinner party. Nobody needs to know how easy it was to make.
Understanding the Magic of Oreo Pie
What makes this cookies and cream pie so special is the way the Oreo cookies work in multiple roles. They form the crust, add texture to the filling, and provide decoration on top. This unified flavor profile creates a cohesive dessert where every element tastes like it belongs.
The cream cheese and Cool Whip combination creates a filling that’s rich yet light, sweet but not cloying. The butter in the crust adds richness and helps bind everything together. When chilled, all these components meld into something truly greater than the sum of their parts.
Essential Ingredients for No Bake Oreo Pie
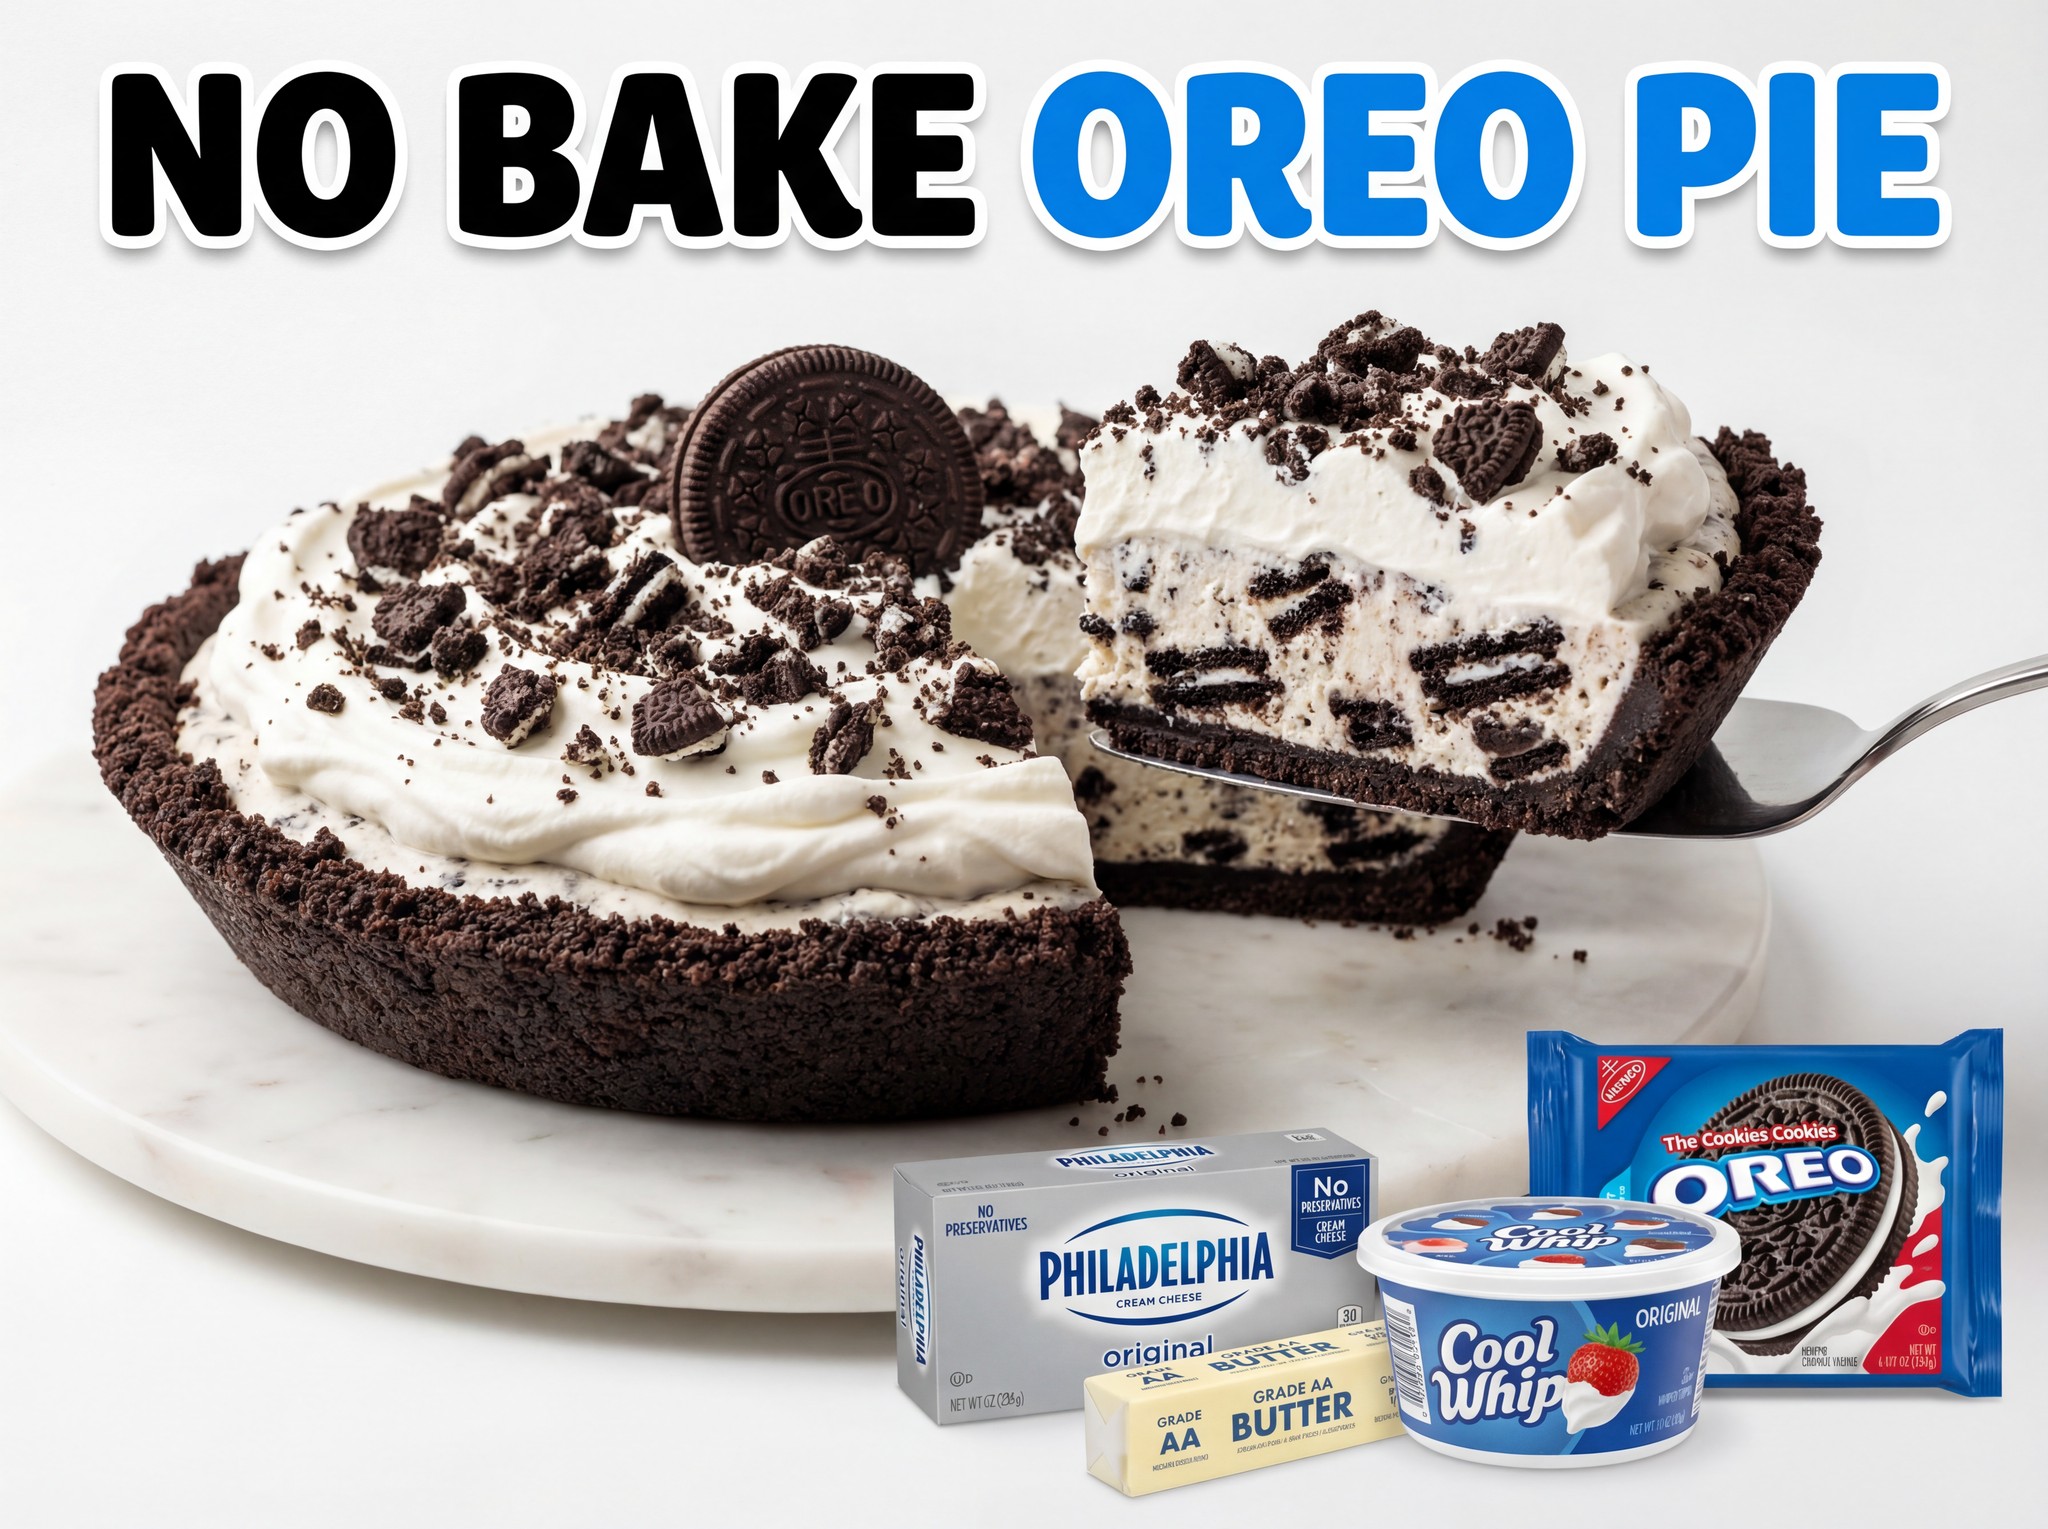
Here’s what you’ll need to create this simple Oreo pie:
- 1 package Oreo cookies (approximately 36 cookies)
- ½ cup butter, melted
- 8 oz cream cheese, softened
- 8 oz Cool Whip, thawed
- ¼ cup powdered sugar (optional, for extra sweetness)
These basic ingredients are available at any grocery store, and you might already have most of them in your kitchen. The recipe is endlessly forgiving—if you’re a cookie short or use slightly more butter, the pie will still turn out beautifully.
Step-by-Step Instructions for Making Oreo Pie
Preparing Your Oreo Crust
Start by crushing your Oreo cookies. Reserve about 8-10 whole cookies or the equivalent in broken pieces for topping the pie later. For the remaining cookies, you want fine crumbs with some slightly larger pieces for texture.
You have several crushing options: place cookies in a food processor and pulse until crushed, put them in a sealed plastic bag and crush with a rolling pin, or use a blender. The food processor gives the most consistent results, but the plastic bag method works perfectly well and requires less cleanup.
Once crushed, transfer the Oreo crumbs to a medium bowl. Pour the melted butter over the crumbs and stir thoroughly with a fork until all the crumbs are evenly moistened. The mixture should resemble wet sand and hold together when pressed.
Press this mixture firmly into the bottom and up the sides of a 9-inch pie pan. Use the bottom of a measuring cup or glass to really compact the crust—this prevents it from being crumbly when you cut the pie. Pay special attention to the seam where the bottom meets the sides.
Refrigerate the crust while you prepare the filling. This helps it firm up and makes spreading the filling easier without disturbing the crust.
Creating the Cream Cheese Filling
In a large mixing bowl, beat the softened cream cheese until it’s light and fluffy. This is crucial—cold or partially softened cream cheese will create lumps that won’t fully incorporate. If you forgot to soften your cream cheese ahead of time, microwave it in 10-second bursts until soft but not melted.
Once the cream cheese is smooth and fluffy, add half of the Cool Whip. Fold it in gently using a rubber spatula, being careful not to deflate the whipped topping. The goal is a light, airy mixture rather than a dense one.
Continue folding until the mixture is smooth and uniform in color. At this point, taste it—if you prefer sweeter desserts, fold in the powdered sugar. I usually skip this step because I find the Oreos add sufficient sweetness, but it’s a matter of personal preference.
Crush 6-8 additional Oreo cookies into smaller chunks—not fine crumbs, but pieces large enough to provide textural interest. Fold these cookie pieces into your cream cheese mixture. They add delightful pockets of cookie crunch throughout the filling.
Assembling Your No Bake Oreo Pie
Remove your chilled crust from the refrigerator. Spoon the cream cheese filling into the crust, spreading it evenly with a spatula. Make sure the filling reaches all the edges and is level across the top for the most professional appearance.
Take the remaining Cool Whip and spread it over the cream cheese layer. You can create peaks and swirls for a decorative look, or smooth it completely flat for a more modern, minimalist presentation. Both approaches look beautiful.
Decorating the Oreo Dessert Pie
Crush or break the reserved Oreo cookies and sprinkle them over the top of the pie. You can create a pattern, cover the entire surface, or just sprinkle them around the edges—all approaches look appealing.
For extra elegance, place a few whole or halved Oreos around the perimeter of the pie. This not only looks impressive but also clearly signals what flavor to expect.
Some people like to drizzle chocolate syrup over the top in a decorative pattern. This adds visual interest and intensifies the chocolate flavor. If you do this, be gentle—you don’t want to disturb the layers beneath.
Chilling to Perfection
Cover your pie carefully with plastic wrap, taking care not to let it touch the decorated surface. You can insert toothpicks around the edge to tent the plastic wrap if needed.
Refrigerate for at least 4 hours, though overnight is ideal. This extended chilling time allows the filling to set properly, the flavors to meld, and makes cutting clean slices much easier.
The pie can be made up to 2 days ahead, making it perfect for party planning. Just add any final garnishes shortly before serving to keep them looking fresh.
Nutritional Information
Per slice (based on 8 slices):
- Calories: 385
- Total Fat: 24g
- Saturated Fat: 14g
- Cholesterol: 50mg
- Sodium: 310mg
- Total Carbohydrates: 38g
- Dietary Fiber: 1g
- Sugars: 25g
- Protein: 4g
Creative Variations for Oreo Pie
Mint Oreo Pie
Use mint Oreo cookies for the entire pie—crust, filling, and topping. The refreshing mint flavor creates a dessert reminiscent of grasshopper pie. Add a drop of green food coloring to the filling if you want a pastel effect.
Peanut Butter Oreo Pie
Mix ⅓ cup of creamy peanut butter into the cream cheese layer before adding the Cool Whip. The combination of peanut butter and Oreos is addictively delicious. Top with Reese’s Peanut Butter Cups instead of Oreos for extra peanut butter punch.
Oreo Cheesecake Pie
Add an extra 8 oz of cream cheese and ⅓ cup of sugar to the filling layer for a denser, more cheesecake-like texture. This variation benefits from an extra hour of chilling time to ensure the filling sets properly.
S’mores Oreo Pie
Replace the Cool Whip topping with marshmallow fluff, then lightly toast it with a kitchen torch. Drizzle with chocolate syrup and add graham cracker crumbs for a s’mores-inspired creation.
Tips for Perfect No Bake Pie Every Time
Room temperature cream cheese is absolutely non-negotiable. Cold cream cheese will not blend smoothly no matter how long you beat it. Plan ahead and leave it out for at least an hour, or microwave it briefly in short bursts.
Don’t over-crush the cookies for the crust. Some texture variation makes the crust more interesting. Completely pulverized cookies create a dense, heavy crust that’s less appealing.
Press the crust very firmly into the pan. This is the most common mistake—a loosely pressed crust will be crumbly and fall apart when you try to cut the pie. Really compact it using the bottom of a glass.
Storage and Make-Ahead Options
This Oreo pie stores beautifully covered in the refrigerator for up to 4 days. The crust may soften slightly over time as it absorbs moisture from the filling, but the flavor remains excellent.
I don’t recommend freezing this particular pie. While the filling freezes reasonably well, the Cool Whip topping can become grainy when thawed, and the crust texture suffers significantly.
For best results when making ahead, prepare everything except the final Cool Whip layer and Oreo garnish. Add those within a few hours of serving for the freshest appearance.
Serving Suggestions for Maximum Impact
Serve slices of this cookies and cream pie on white or black plates to make the Oreo colors pop. A small dollop of additional whipped cream and a whole Oreo cookie standing upright adds elegant height.
For casual gatherings, cut the pie into smaller wedges—this rich dessert is satisfying in modest portions. You can easily get 10-12 servings from one pie.
Pair each slice with a glass of cold milk, coffee, or hot chocolate. The classic combination of Oreos and milk extends beautifully to this pie format.
Perfect Occasions for Oreo Dessert Pie
No bake Oreo pie is ideal for:
- Summer picnics and barbecues
- Children’s birthday parties
- Last-minute dinner guests
- Potluck contributions
- Father’s Day celebrations
- Casual weekend desserts
- Any time you need an impressive dessert quickly
Presentation Ideas
For an elevated presentation, pipe additional whipped cream around the border using a star tip. Add fresh berries for color contrast—strawberries and raspberries look particularly beautiful against the black and white of the Oreos.
Create a cookies and cream theme by serving the pie alongside coffee ice cream and chocolate sauce. Set up a dessert bar where guests can customize their servings.
For kids’ parties, add colorful sprinkles to the Cool Whip layer. The addition of bright colors makes the dessert feel more festive and celebration-worthy.
Why This Recipe Is Foolproof
The ingredients are nearly impossible to mess up. Cream cheese and Cool Whip always blend smoothly when both are at proper temperatures. Oreo cookies are consistent from package to package, so results are reliable every time.
The no-bake aspect eliminates the variables that cause most baking disasters. No worrying about oven temperatures, timing, or whether something is done. If you can mix and spread, you can make this pie.
The flavor combination is universally appealing. Even picky eaters typically love Oreos, and the cream cheese filling isn’t overly fancy or unusual. It’s crowd-pleasing in the truest sense.
Making This Pie with Children
This recipe is excellent for involving kids in the kitchen. They can help crush the Oreos (in a sealed bag for safety), stir ingredients, press the crust into the pan, and decorate the top. The assembly process is straightforward enough for children to successfully contribute while feeling accomplished.
Just supervise closely when working with the cream cheese to ensure it’s mixed thoroughly, and help with the final spreading to achieve even layers.
Troubleshooting Common Issues
If your crust is too crumbly when cut, you didn’t add enough butter or press it firmly enough. Next time, add an extra tablespoon of butter and really compact that crust.
If the filling is too soft and won’t hold its shape, you need more chilling time. Return it to the refrigerator for another 2-3 hours. Also, make sure you’re using full-fat cream cheese and regular Cool Whip—low-fat versions don’t set up as firmly.
If the layers slip when you try to cut the pie, your knife isn’t clean between slices. Dip the knife in hot water and wipe it completely clean after each cut for the neatest slices.
The Science Behind This Simple Recipe
Oreo cookies contain enough structural integrity to form a crust when crushed and mixed with butter. The butter’s fat coats the crumbs and, when chilled, hardens enough to create stability while maintaining the ability to cut cleanly with a fork.
Cream cheese provides body and tang to balance the sweetness of the cookies and Cool Whip. Its fat content also contributes to the creamy mouthfeel that makes this filling so satisfying.
Cool Whip contains stabilizers that help it maintain structure even when mixed with other ingredients and held in the refrigerator for days. This is why it works better for this application than fresh whipped cream would.
My Personal Cooking Tip
Here’s my secret for the absolute best no bake Oreo pie: after pressing the crust into your pan, pop it in the freezer for 15 minutes instead of just refrigerating it. This extra-cold crust makes spreading the first layer of filling much easier and helps prevent any mixing of the layers. When crushing Oreos for the filling, I like to leave some pieces quite large—about the size of a fingernail—because biting into those substantial cookie chunks as you eat the pie creates wonderful textural surprises. Also, here’s a presentation trick that makes a huge difference: before adding the Cool Whip topping, take a tiny amount of the cream cheese filling and spread it in a very thin layer around the top edge of the crust. This creates a “seal” that prevents the Cool Whip from potentially sliding down between the filling and the crust edge, ensuring your pie looks absolutely perfect when cut. Finally, use an offset spatula for spreading—it’s the tool professional bakers use and it makes creating smooth, even layers remarkably easy!
