
There’s something magical about a dessert that brings back childhood memories with every spoonful. This Strawberry Banana Pudding Dream is exactly that kind of dessert – layers of creamy vanilla pudding, sweet bananas, juicy strawberries, and soft vanilla wafers that create pure nostalgia in a dish.
The first time I made this dessert was for a summer potluck, and I wasn’t sure how it would be received. But within minutes of setting it on the table, people were gathered around it, oohing and aahing at the beautiful layers visible through the glass dish. By the end of the evening, the dish was scraped clean, and I had five people asking for the recipe!
Why You’ll Love This Strawberry Banana Pudding Dream
This strawberry banana pudding dream is the perfect no-bake dessert for any occasion. It combines the classic Southern comfort of banana pudding with the bright, fresh flavor of strawberries. The result is a dessert that’s creamy, fruity, and absolutely irresistible.
What makes this recipe truly special is its versatility and ease. There’s no baking required, it can be made ahead of time, and it feeds a crowd beautifully. Plus, the layers create a stunning presentation that looks like you spent hours in the kitchen – but it only takes about 20 minutes to assemble!
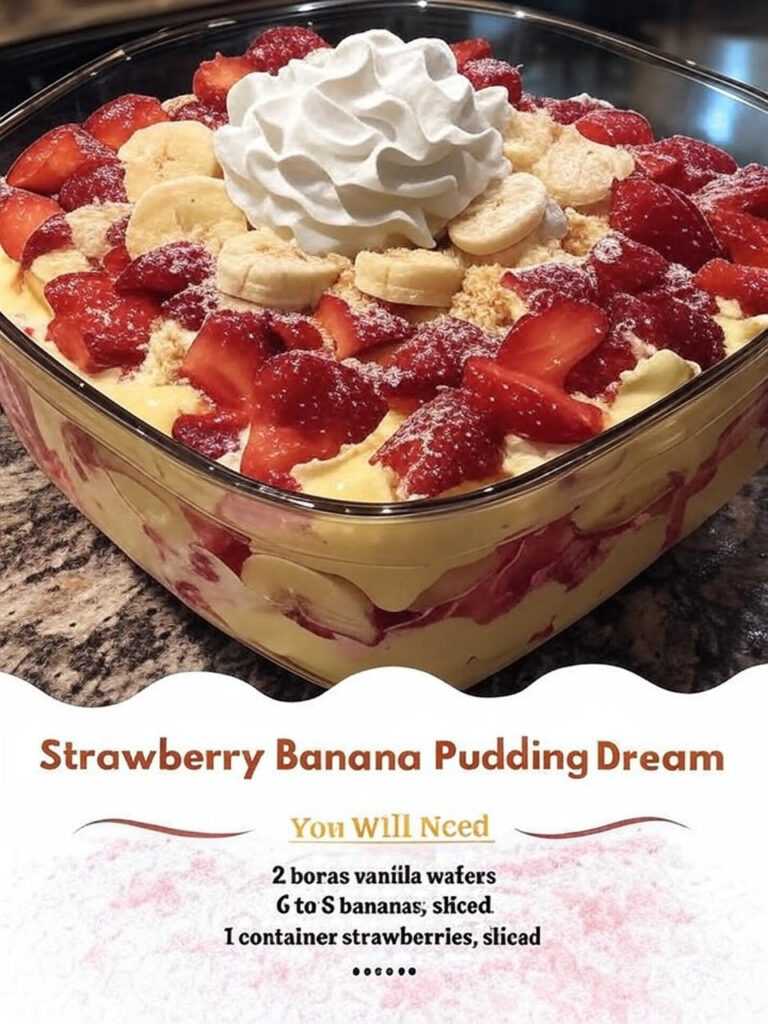
Ingredients for Strawberry Banana Pudding Dream
Pudding Base:
- 8 oz cream cheese, softened
- 1 (14 oz) can sweetened condensed milk
- 1 (3.4 oz) box French vanilla instant pudding mix
- 2 cups cold whole milk
- 1 (12 oz) container whipped topping (Cool Whip), divided
Layers:
- 2 boxes (11 oz each) vanilla wafers (like Nilla Wafers)
- 6 to 8 ripe bananas, sliced
- 1 pound fresh strawberries, hulled and sliced
Garnish (Optional):
- Extra whipped topping
- Whole strawberries
- Banana slices
- Crushed vanilla wafers
- Powdered sugar for dusting
Step-by-Step Instructions for Perfect Pudding Dream
Preparing the Creamy Pudding Base
In a large mixing bowl, beat the softened cream cheese and sweetened condensed milk together until completely smooth and creamy. This is your foundation, so make sure there are no lumps! Use an electric mixer on medium speed for about 2-3 minutes until the mixture is silky and well-combined.
Add the French vanilla instant pudding mix and cold milk to the cream cheese mixture. Continue beating for another 2-3 minutes until the pudding thickens and becomes smooth. The mixture should be thick enough to coat the back of a spoon.
Gently fold in about half of the whipped topping using a spatula. Reserve the other half for topping the dessert later. The whipped topping makes your pudding extra light and fluffy – almost like a mousse!
Preparing Your Fresh Fruit
Slice your bananas into even rounds, about 1/4-inch thick. For the best results, slice them just before assembling to prevent browning. If you need to prepare them ahead, toss the slices very lightly with lemon juice and a pinch of sugar – this prevents oxidation without affecting the flavor.
Hull and slice your fresh strawberries. Pat them gently with paper towels to remove excess moisture – this keeps your vanilla wafers from getting too soggy and helps maintain the structure of your layers.
Assembling Your Strawberry Banana Pudding Dream
Now comes the fun part – creating those beautiful layers! Choose a large glass trifle bowl, a 9×13-inch glass baking dish, or any clear serving dish so everyone can see your gorgeous layers.
First Layer: Start with a layer of vanilla wafers covering the bottom of your dish. You can arrange them in a single layer or overlap them slightly – either way works beautifully!
Second Layer: Add a layer of sliced bananas over the vanilla wafers. Arrange them in a single layer, covering the wafers completely.
Third Layer: Add a layer of sliced strawberries over the bananas. The red strawberries against the yellow bananas create such a pretty contrast!
Fourth Layer: Spoon about half of your pudding mixture over the fruit, spreading it gently and evenly. Be careful not to disturb the fruit layers too much.
Repeat the Layers: Continue layering – vanilla wafers, bananas, strawberries, and pudding – until all your ingredients are used up. You should be able to create 2-3 complete layer sets depending on the size of your dish. Try to end with a pudding layer on top for the smoothest finish.
Adding the Final Touches
Spread the remaining whipped topping evenly over the final pudding layer. You can use a spatula to create swoops and swirls for a pretty presentation, or pipe it on using a pastry bag with a star tip for a more elegant look.
Garnish the top with additional fresh strawberry slices, banana coins, and a sprinkle of crushed vanilla wafers. If you want to get fancy, dust lightly with powdered sugar just before serving. The key is making it look abundant and inviting!
The All-Important Chilling Step
Cover your assembled dessert with plastic wrap and refrigerate for at least 4 hours, though overnight is even better. This chilling time is crucial! It allows the vanilla wafers to soften to a cake-like texture, the flavors to meld together, and the pudding to set properly.
Trust me, I know it’s hard to wait, but this patience makes all the difference. The wafers will absorb moisture from the pudding and fruit, transforming into tender, cake-like layers that are absolutely divine.
Nutritional Information
Per serving (based on 12 servings):
Approximately 380-420 calories, 15g fat, 58g carbohydrates, 6g protein
Presentation Tips for Your Pudding Dream
For the most impressive presentation, use a clear glass trifle bowl or dish so everyone can admire those beautiful layers. When arranging your fruit, take an extra moment to create neat rows of bananas and fan out your strawberry slices – these little touches make a big visual impact.
Just before serving, add fresh garnishes. If you’ve assembled the dessert the night before, wait until serving time to add the final whipped topping and fresh fruit on top. This keeps everything looking fresh and prevents discoloration.
Perfect Pairings and Serving Suggestions
This strawberry banana pudding dream is substantial enough to be a standalone dessert, but it pairs beautifully with:
- Hot coffee or tea – The richness of the pudding is perfectly balanced by a hot beverage
- Sparkling water with lemon – For a refreshing, palate-cleansing contrast
- Light summer meals – It’s the perfect ending to BBQ, grilled chicken, or seafood
- Brunch spreads – Yes, it’s sweet enough for brunch! Serve alongside quiche and fresh fruit
Creative Variations on the Classic
Once you’ve mastered the basic recipe, try these delicious twists:
Tropical Version: Substitute half the strawberries with fresh pineapple chunks and add a sprinkle of toasted coconut between layers. It’s like a vacation in a bowl!
Berry Explosion: Use a mix of strawberries, blueberries, and raspberries for a multi-berry masterpiece. The different colors create stunning layers.
Chocolate Lover’s Dream: Use chocolate pudding instead of vanilla, and add mini chocolate chips between layers. Replace vanilla wafers with chocolate wafer cookies.
Peanut Butter Twist: Spread a thin layer of peanut butter between some of the wafer layers. The peanut butter and banana combination is absolutely heavenly!
Lighter Version: Use sugar-free pudding mix, low-fat cream cheese, and light whipped topping. It’s still delicious but with fewer calories.
Individual Servings: Layer ingredients in clear cups or mason jars for perfectly portioned, portable servings. These are perfect for picnics or potlucks!
Storage and Make-Ahead Tips
One of the best things about this strawberry banana pudding dream is that it’s actually better when made ahead! The flavors develop and the wafers soften perfectly.
Make-Ahead: You can assemble this dessert up to 24 hours before serving. In fact, I recommend making it at least 6-8 hours ahead for the best texture. Just wait to add the final whipped topping and fresh fruit garnish until just before serving.
Storage: Store covered tightly with plastic wrap in the refrigerator for up to 3 days. The bananas may brown slightly after the first day, but the dessert will still taste delicious.
Freezing: I don’t recommend freezing this dessert as the texture of the pudding and fruit changes significantly when thawed. It’s best enjoyed fresh from the fridge.
Leftover Tips: If you have leftovers (which is rare!), the strawberries may release some juice over time. Simply stir gently before serving, or scoop from beneath the liquid layer.
Expert Tips for Pudding Dream Perfection
After making this dessert countless times, I’ve learned some tricks that guarantee success every time:
Room Temperature Cream Cheese: This is crucial! Cold cream cheese will create lumps in your pudding base. Leave it out for at least an hour before starting, or microwave briefly (15-20 seconds) to soften.
Don’t Skip Beating the Base: Really take the time to beat the cream cheese and condensed milk until completely smooth. Those few extra minutes prevent lumps and create that silky, dreamy texture.
Fresh, Ripe Fruit: Use bananas that are ripe but still firm – they should be yellow with just a few brown spots. For strawberries, choose ones that are bright red, firm, and fragrant.
Pat Fruit Dry: This tip is so important! Excess moisture from strawberries can make your layers soggy. A quick pat with paper towels makes a huge difference.
Gentle Layering: When spreading pudding over fruit, be gentle. You don’t want to disturb the pretty arrangement of your banana and strawberry layers.
The Overnight Secret: While 4 hours is the minimum, overnight is when the magic really happens. The wafers reach that perfect cake-like consistency, and all the flavors marry beautifully.
Presentation Matters: Save some of your prettiest strawberries and banana slices for the top. Arrange them artfully just before serving for that wow factor.
Why This Recipe Works
This strawberry banana pudding dream hits all the right notes:
Texture Contrast: You get creamy pudding, soft cake-like wafers, tender fruit, and fluffy whipped topping all in one bite. It’s a textural masterpiece!
Flavor Balance: The sweetness of bananas and pudding is balanced by the slight tartness of fresh strawberries. The vanilla wafers add a buttery note that ties everything together.
Visual Appeal: Those beautiful layers aren’t just pretty – they also ensure every spoonful has a bit of everything. No one gets a bite of just pudding or just fruit.
Crowd-Pleasing: From kids to grandparents, everyone loves this dessert. It’s familiar enough to feel comforting but special enough for celebrations.
No-Bake Convenience: In hot weather or busy times, a no-bake dessert that looks this impressive is pure gold!
This Strawberry Banana Pudding Dream is more than just a dessert – it’s a showstopper that brings people together. Whether you’re making it for a church potluck, a family reunion, a holiday gathering, or just because Tuesday needs something special, this recipe delivers every single time.
The combination of nostalgic flavors, stunning presentation, and foolproof technique makes it one of those recipes you’ll turn to again and again. So grab your mixing bowl, layer with love, and get ready for the compliments. This dreamy dessert is about to become your new signature!